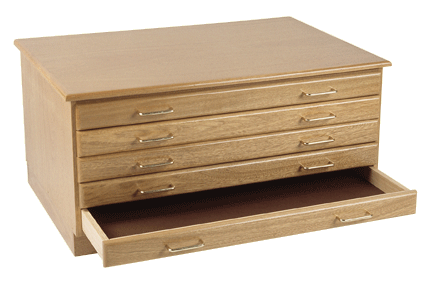
I have a lot of art. This is what happens when you’re an art major – you end up with a lot of art, and not enough time/space/money to hang it all on the walls. Which means I have 3 separate portfolios full of pieces that I want to keep, but don’t have room for. And most of it’s on paper, which mean storing it flat is the optimal solution. So I started looking for flat files – things like this:
That beautiful 5-drawer flat file? Costs nearly $700 dollars. A metal version costs more. I do not have $700 to spend on flat files.
What I have is a circular saw, drill, and a nearly endless supply of paper to draw plans on. Plus wood filler for when things go awry. Not that things ever go awry for me! So I drew up plans for a very wide, very deep bookcase with shelves about 3″ apart. I didn’t even consider trying to make drawers that big – that seemed like asking for trouble, and shelves are all I really need – I’m perfectly happy to shuffle through papers on a shelf instead of slide them out. Anyway, this plan required 3 large pieces of plywood, cut down to approximate size by a nice guy at Lowe’s. I got nice plywood for the sides, and less expensive ply for the shelves, since no one will see the actual surface of those. The top is a chunk of leftover countertop from the kitchen, which has been leaning against a table in basement for the past year, along with its twin. I’ll come up with something to do with that one someday, I’m sure. The chunk of countertop actually determined the size of the structure, because I didn’t really want to cut it, and I couldn’t make it deeper, so my files are 25.5″ deep and 42″ long. Definitely big enough to hold my large sheets of paper and art.
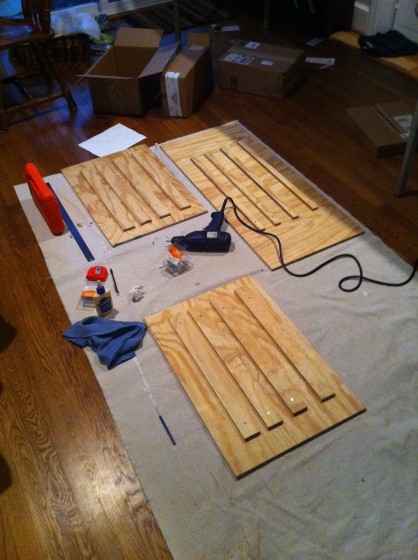
So I cut all my pieces to actual size, and then sanded them all down smooth with my palm sander (love it). Then I attached shelf supports to both sides and the back – with glue and screws, since the plywood isn’t very thick, so I didn’t really trust the screws alone.
Then I screwed and glued the sides and back to the bottom. And right after taking this picture:
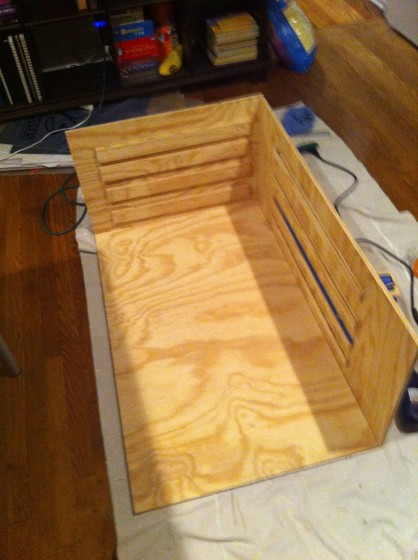
realized the back panel was on upside down, which meant the shelf supports were all in the wrong places. So I unscrewed it at high speed before the glue set, flipped it over, and re-screwed and glued it on. Whew.
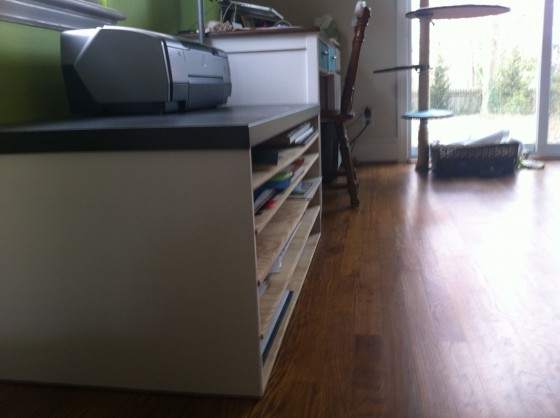
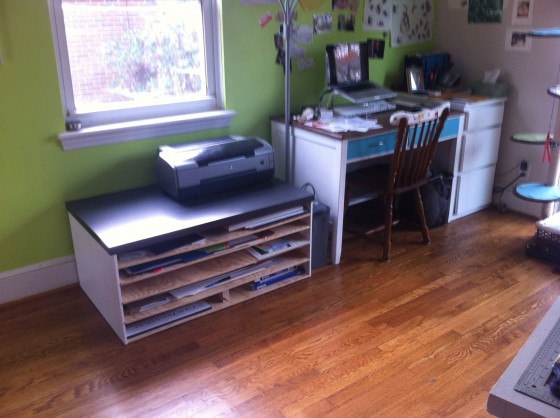
Then I painted. Latex paint has a tendency to “block” – that is, stick to paper that’s set on it, even months after it’s “dry.” So I decided that the sides and back of the files would be painted, but not the shelves. Once I’d painted, I attached the top with some corner brackets (this involved lying inside the box on my back and drilling overhead in a tiny space – very fun). Then I slid the shelves into place, moved the flat file next to my desk, and loaded it up!
It’s working perfectly, and the cats are even enjoying having a bigger spot to hang out next to my desk.

Smart solution! I love seeing your projects!
Aw, thanks, Kimberly!
Hee hee, that is awesome.
And yes, before I even finished scrolling to the bottom and I saw the image of it beside your desk, I couldn’t help but think “Dante and Chaucer will love that.”
Yup, the cats are the final judges around here. Love it.
That is awesome Jill! You can also go to craigslist and find one super cheap. but then you have to move it. And that’s way less fun.