Having eliminated the pesky electrical outlets, it was time to start building. I started by screwing a 2×4 into the studs at 15″ high – this’ll support the top, and gave me a level line to match, since my floor is definitely not level. I’d already created a drawer box, so I screwed that to the 2×4, with a scrap piece left over from the kitchen to make the spacing come out right. Then I just created a front frame with two long 2x4s and 3 shorter ones, which I screwed to the perpendicular wall and the drawer box’s other side. This is hard to explain in words – let me sum up with a photo: Continue reading
Category Archives: House
removing electrical outlets
So I thought about the banquette occasionally for more than a month, always stalling out on the need to call an electrician and get the outlets moved. And then I realized that I didn’t actually have to move the outlets – I could just remove them. And that’s something I felt pretty confident I could do. Continue reading
building a banquette
Way back when I was designing the kitchen, I thought it would be cool to have a banquette seat in the corner where the table is. I really like booth seats in restaurants, and my parents have a long banquette seat in their kitchen that works really well. Also, banquettes take up less space than chairs, since you don’t have to leave space to slide them back – and space is something I haven’t got a ton of in the kitchen. Continue reading
desk refinished!
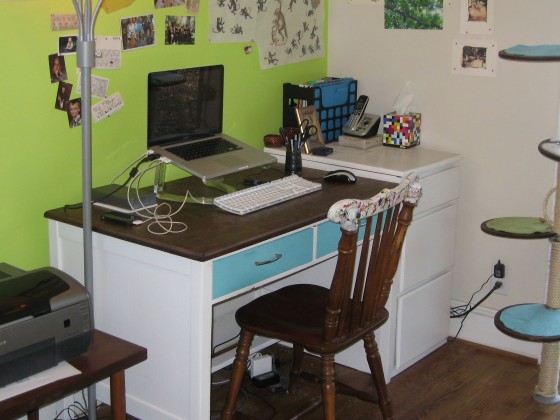
Here is the much-delayed final result of the desk refinishing project – it’s been done and in use for more than a month now, and is holding up perfectly, as well as being much easier to clean than the painted top was.
It even goes with my dining chair, with the half painted/half wood look happening. Maybe I should replace the lid of my art drawers, too (the ones to the right of the desk).
desk refinishing
Note for the future: when painting objects white, consider that maybe a highly-used piece of furniture might not wear well with a white surface. My desk has been looking less and less nice recently – also, I evidently exude paint-thinner from my wrists, since the paint had actually completely worn away in the two spots at the edge of the desk where I rest my arms when typing. I needed to repaint at the very least, and I’m not prone to repeating mistakes. My new plan: strip the paint and ancient varnish, stain the top dark, and re-varnish.
Conveniently, I got a sander for Christmas! So I started with a chemical stripper to get the paint off – this is what it looked like after two rounds of stripping:
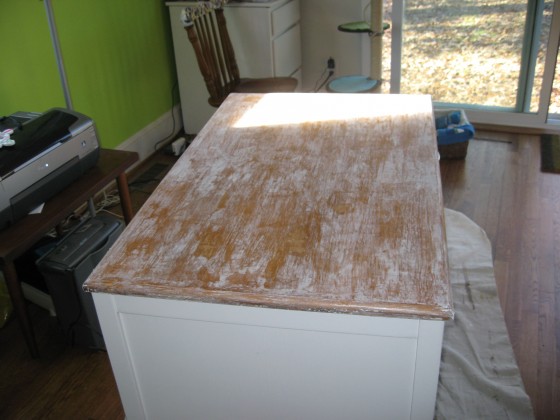
And then another round of stripping to get varnish off, followed by a wipe-down with mineral spirits:
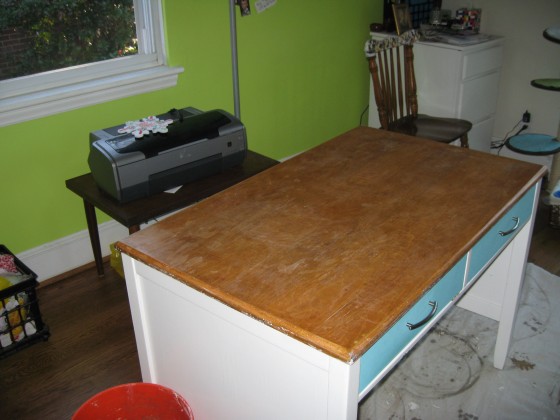
The varnish wasn’t really coming up, so I decided to switch from chemical to mechanical: my new sander!
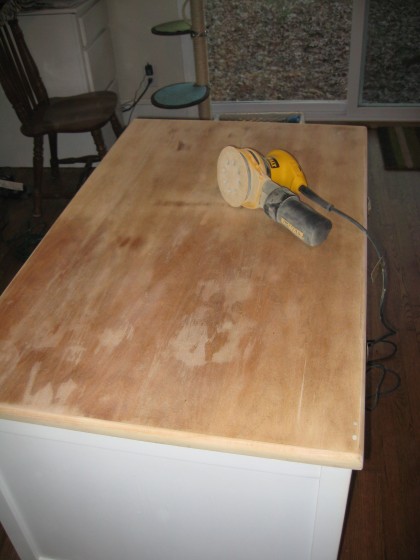
Look at that – it works! I used 80-grit paper to get the varnish off, then shifted to finer grit papers to get a final finish of 220-grit.
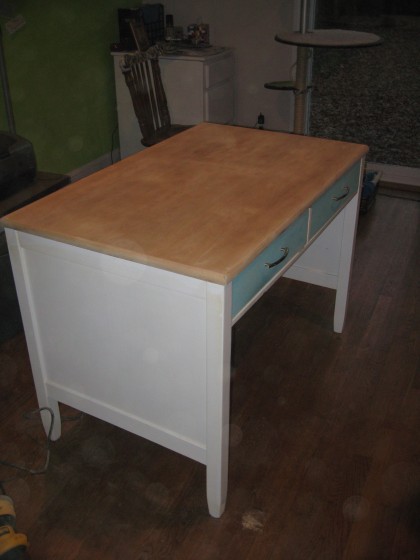
And then I vacuumed everything in the room to de-dust before starting the refinishing process. I did this whole thing in the studio because I really have no way to get my desk down into the basement alone, so there was a thin layer of sawdust on the entire room, despite the sander’s integrated dust-collection system. Once everything was dust-free, I did a first coat of the same stain from the bookcase project:
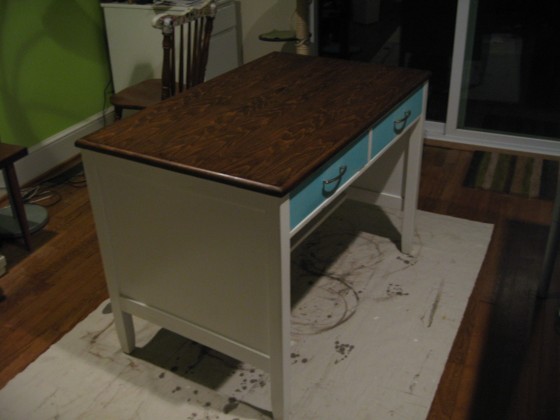
Tomorrow, I’ll do a second coat, and then it’ll be time for varnish.
trash pullout conversion
I just realized I never posted about the trash pullout conversion. You can see in the corner of this photo that I had a big freestanding trashcan in the kitchen, which didn’t really have a good spot to be. And in this post I talked about how I had empty cabinets- one of which was the entire drawer stack to the left of the sink. See where this is headed? At my reveal party, one of my friends commented that I should do a pullout for trash instead of the drawer stack. And he was TOTALLY right – I couldn’t quite believe I hadn’t figured that out already. So I went back to IKEA (trip 5 for the kitchen) and bought a door for the pullouts. I had to drill some extra holes in it, but I basically took the drawer hardware for the bottom drawer and connected it to the door – so now I have a door that pulls out like a drawer. Awesomely, there’s another company that makes trash pullouts this size, so I could order “replacement” bins from them, which fit neatly into my space. The front can is trash, the back one is recycling, and now I don’t have a big trashcan just hanging out in the corner of my kitchen – it’s been relegated to the basement as my construction trashcan.
budget breakdown
So, the kitchen’s done. Or close enough – I’ve got one more door to buy from IKEA. Other than that, it’s done. So the big question: where’d the money go?
$82 – demo tools (nail puller, crowbar, floor scraper)
$4,530 – Cabinets, dishwasher, microwave, sink, faucet, countertops (all IKEA).
$129 – delivery of all of the above
$6,209 – contractor for wall demo, electrical, plumbing, and sheetrock (came out odd because he provided undercabinet lights for me). Also includes some non-kitchen stuff that I didn’t separate out- front porch ruffle removal, outlet in studio, front light, living room ceiling light.
$462 – floor refinishing
$115 – garbage disposal
$255 – tile and associated supplies
$212 – paint, tape, caulk, misc.
$80 – light fixture
$40 – trash/recycling cans
————–
$12,114 – Total cost of Jill’s kitchen.
Things that cost more than I originally budgeted:
The cabinets – I was thinking of going with the Stat look from IKEA, which is a lot cheaper than Lidingo. But Stat was just too country for my house, so I chose Lidingo.
Floor refinishing – I’d been calculating based on how much the rest of my house cost – but they had to do a lot more work on the kitchen since it was covered in linoleum adhesive, and we used the dustless system because it was open to the rest of the house.
Tile – I hadn’t budgeted for tile at all – I wasn’t sure I was going to do it, and then it just kind of happened.
The countertops were my saving moment – I had no idea how much they might cost, and when I started to get quotes of nearly $1,000 for laminate, I backed up and rethought, which gained me my amazing farmhouse sink, while getting rid of that 11′ long span on the front wall. And then I decided that laminate from IKEA would do just fine, and it turned out pretty great.
So that’s where my money went into the kitchen – feel free to ask if you want more details. In the end? Worth every penny.
kitchen completion!
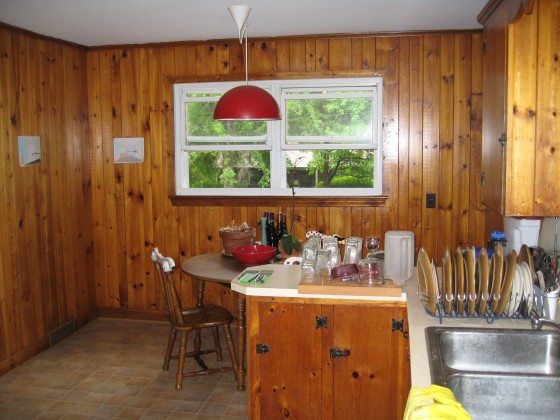
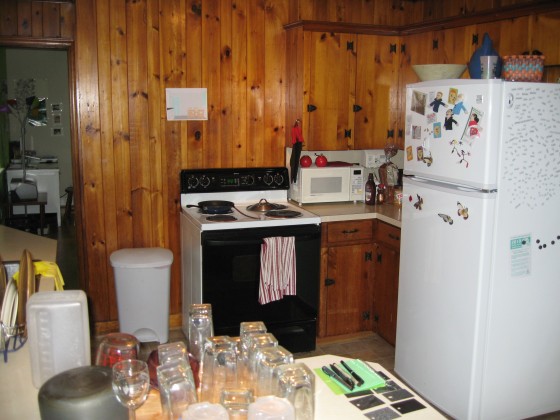
It’s done! (well, close enough). Let’s start with a reminder of where it began, back in this post. All the knotty pine, the sink under the side window, the peninsula cutting the room in half, and the kitchen table taking up too much space and too little at the same time.
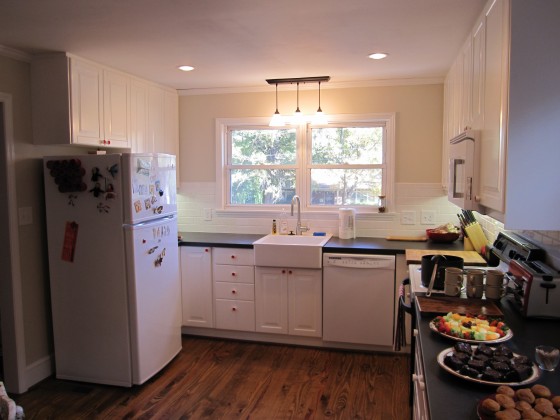
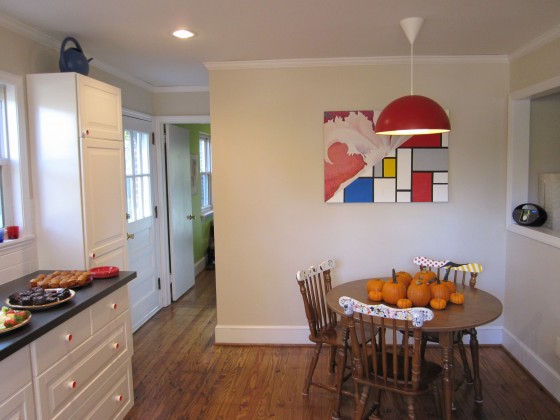
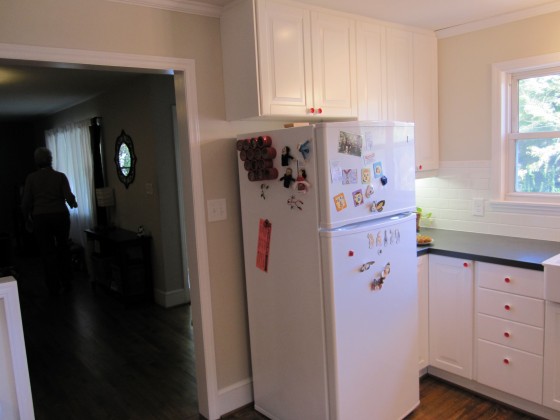
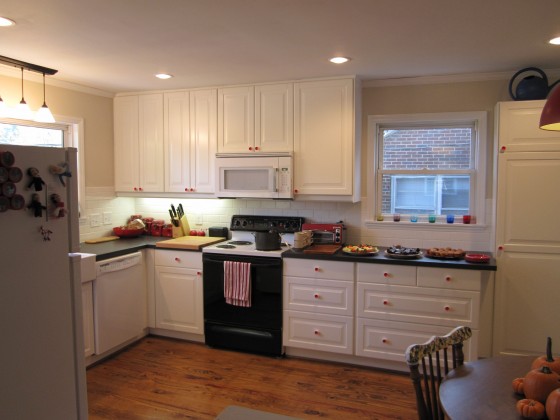
But last weekend I had a Halloween pumpkin-painting party as an excuse to show off the kitchen, and took final photos, so here’s what the kitchen looks like now, with convenient comparison photos from before.
caulking
I was kind of afraid of caulking – maybe because I’d never caulked before, maybe because if you read instructions online, they all talk about how hard silicone caulk is to control, maybe just because it’s nearly the last thing I have to do and I didn’t want to mess up something this late. But it turns out, caulking isn’t hard. Like, at all. Taping every seam you want to caulk is incredibly mind-numbing, but it’s not hard, and then all you have to do is run the caulk bead and smooth it out with a rubbing-alcohol-coated finger, then peel up the tape immediately. Voila, perfect straight caulk lines. I did most of the seams tonight, and I’m planning on doing the rest tomorrow. Yay for caulk!
toekick and light rail
This weekend I did toekicks and light rail. IKEA toekicks are a piece of melamine-covered MDF, with a groove along the back to accept a clip. The clip clicks onto the cabinet legs, and there’s your toekick. The light rail goes along the bottom edge of the upper cabinets, to hide the undercabinet light fixtures, and is a nice little decorative finishing piece.

